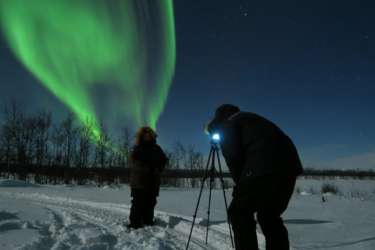
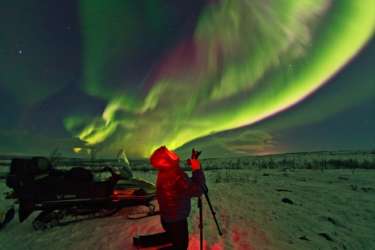
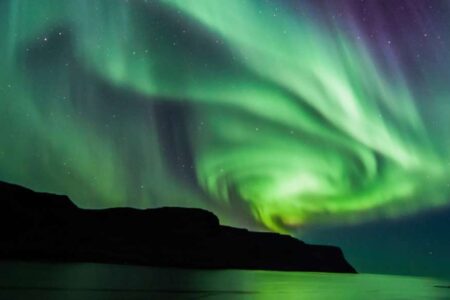
Experiencing the northern lights is a dream for many travellers. And what better way to capture the magic of that moment than with a photograph?
Photographing the dancing colours of the northern lights can seem technical. But with a little guidance (and trial and error), taking photos of the northern lights is not too difficult.
Here, we take a look at the photography kit and camera settings you need to take beautiful aurora photographs. We also share our tips on how to photograph the northern lights, based on our many years of Arctic exploring.
Best camera for photographing the northern lights
The best cameras for photographing the northern lights are those that can be set to manual mode. A DSLR or mirrorless camera is ideal — especially one that can handle high ISO settings without creating grainy photos.
Other things to look for? Strong low-light performance, reliable battery life and — if possible — weather sealing to keep out moisture and preserve performance in extreme Arctic temperatures.
Best lens for northern lights photography
In general, the best lens for aurora photography is a wide-angle lens. It allows you to capture the sweeping arc of the aurora as it blazes across the night sky.
For the best results, look for a lens between 12 and 24 mm with a wide aperture of f/1.4 to f/2.8. This type of lens gives you a wide, expansive view of the sky. It also lets in more light during your exposure, so you can keep ISO settings lower and reduce unwanted image noise.
Other essential equipment for photographing the aurora
When packing for your northern lights trip, there’s some other aurora photography equipment that deserves a place in your case:
- Tripod. To take good photographs of the aurora, you need to keep your camera shutter open for an extended time — up to 30 seconds. Even the steadiest hand isn’t up to the task. So you need a tripod. A carbon fibre tripod is the best you can get. It’s lightweight yet sturdy, and provides all the stability you need.
- Extra camera batteries. Cold temperatures zap batteries of their energy. And if you spend 3 to 4 hours on a photography tour, you may find that your batteries have drained just as an aurora display reaches its peak. Pack plenty of extra camera batteries so you’re never caught short.
- Photography gloves. Cameras are fiddly to use with thick Arctic gloves. So it could be worth investing in a pair of photography gloves. These allow you to use the dials and buttons on your camera without risking frozen fingers.
- Extra SD cards. Make sure you’ve got lots of space to store those incredible northern lights photographs. Bring more SD cards than you think you’ll need so don’t have to delete any of your favourite shots.
- Remote shutter release cable. If your camera doesn’t have a timer mode, a remote shutter release cable will come in handy. This allows you to take aurora photos without touching your camera, reducing camera shake and avoiding blurry images.
How to photograph the northern lights with a smartphone
The camera kit we’ve listed above will help you take exceptional northern lights photographs. But if all you have is your smartphone, you can still capture beautiful shots of the aurora.
To take pictures of the northern lights with a smartphone, you need a modern smartphone, a tripod and the right settings. Here’s how to take pictures of the aurora borealis using your phone:
- Switch off the flash and use manual settings
- Adjust the exposure to let in more light
- Shoot in RAW format for the best image quality
- Set focus manually
- Use your phone’s camera timer to reduce camera shake
Some other tips? Keep your phone warm (perhaps in an inside pocket) when you’re not using it. The cold can drain your phone battery quickly. You could also carry a power bank for on-the-go charging.
And if your phone doesn’t offer the manual settings you need, you can try downloading a specialist camera app. These apps give you greater control over settings.
What camera settings to use for the northern lights
When photographing your aurora, you need to switch your camera to manual mode. This gives you full control over key camera settings, like shutter speed, ISO, aperture and focus.
When deciding on aurora photography settings for your camera, this is a good starting point:
- Aperture: f/2.8 (or the widest your lens will allow)
- ISO: 1600 (you can increase this if it’s very dark)
- Shutter speed: 15 seconds
From here, adjust camera settings according to light conditions and the appearance of the aurora.
Aperture
The aperture setting on a camera alters the amount of light that your lens lets in. For aurora photography, the widest setting possible — ideally between f/1.4 and f/4 — is usually best. (Remember that smaller numbers are wider than larger numbers.) On particularly bright nights, you may want to narrow the aperture.
Shutter speed
This is the length of time your camera’s shutter stays open. The longer it’s open, the more light your camera captures. If the aurora is faint, you can lengthen the shutter speed. If the lights are bright and moving fast, shorten the shutter speed to 3 to 7 seconds to capture them in all their spectacular detail.
ISO
ISO is a balancing tool you can use after setting aperture and shutter speed. It’s best kept as low as possible to maintain image quality. When photographing the aurora, choose an ISO somewhere between 500 and 2000. If the northern lights are faint, increasing ISO will brighten your image. If the aurora is very bright or a full moon is shining, you can lower ISO to avoid overexposing the image.
Focus
Use manual focus for the best results. Fix your lens on infinity. Most lenses have a symbol, like this “∞”, that marks an approximate infinity focus point. Alternatively, find a bright star and adjust the focus so that the star is as clear and small as possible.
How to take pictures of the aurora borealis: 9 essential northern lights photography tips
So we’ve covered the photography kit and the camera settings you need to photograph the northern lights. Now, here are some extra aurora borealis photography tips that will help you get the very best aurora pictures.
1. Get to know your camera
If you plan to use a new camera on your northern lights holiday, it’s worth practising at home. Get used to the different settings and maybe even try out some night sky photography. That way, on your aurora excursion, in the cold and dark, you’ll already be comfortable with camera dials and buttons.
2. Travel to areas away from light pollution
Regions in or near the Arctic Circle are the best places to see the northern lights. Once you’re there, remember: the darker the sky, the better your photos. Head into the wilderness, away from towns and streetlights. Remote locations are best for aurora borealis sightings and photography.
3. Seek out areas with clear skies
You can’t see the aurora if it’s too cloudy. So check the weather forecast to ensure your chosen excursion destination is free from cloud cover. Places like Abisko in Sweden and Thórsmörk in Iceland have their own microclimate, which means more nights with clear, starry skies.
4. Check aurora forecasts
Because aurora activity also varies from night to night, you need to keep an eye on aurora forecasts. The intensity of the northern lights is measured using the Kp index, on a scale from 0 to 9. Anything above 4 is classed as a geomagnetic storm so, on these nights, the aurora is likely to be bright and colourful. That being said, don’t be put off if the lights aren’t particularly active. You can still take beautiful aurora photographs, even on nights with a KP index of 2.
5. Wrap up warm
We couldn’t create a list of aurora photography tips without mentioning Arctic clothing. When you spend the evening photographing the northern lights, you’ll be standing still for long stretches in freezing temperatures. To keep out the cold, layer up with thermal base layers, mid layers, insulated jackets, gloves, hats and warm boots. Electronic or air-activated heat packs also come in useful for warming hands and feet.
6. Adjust camera settings as you go
To get good pictures of the aurora, you need to tweak camera settings in line with conditions. If the aurora is getting brighter, bring down your ISO. Try different shutter speeds. Use your histogram to check exposure rather than relying on your camera screen. Adjust the aperture if the moon makes an appearance. Keep experimenting with northern lights photography settings to get the best aurora shots.
7. Consider composition
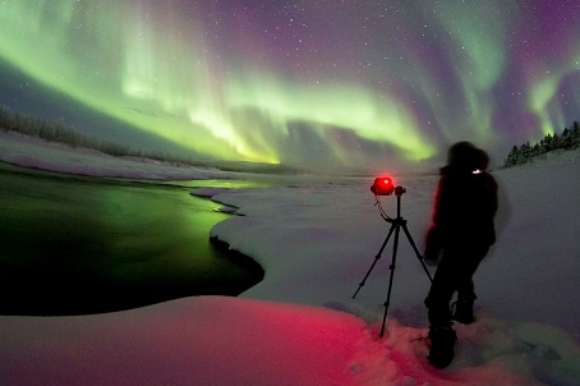
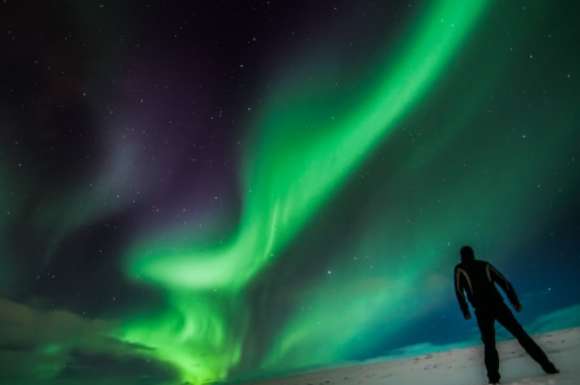
The swirling colours of the northern lights may be the focus of your image. But some of the best aurora photographs feature an impressive foreground too. Look for a tree, a frozen lake, the silhouette of a mountain or a striking manmade structure to bring more interest to your photos.
8. Don’t look at your photos until the next day
After shooting, pack your camera away. Both the camera and SD card need time to return to room temperature to avoid condensation. For the best results, check your images the following morning in the warmth of your hotel or cabin. This is perhaps one of the hardest northern lights photography tips to follow — but patience really does pay off.
9. Join a guided photography tour
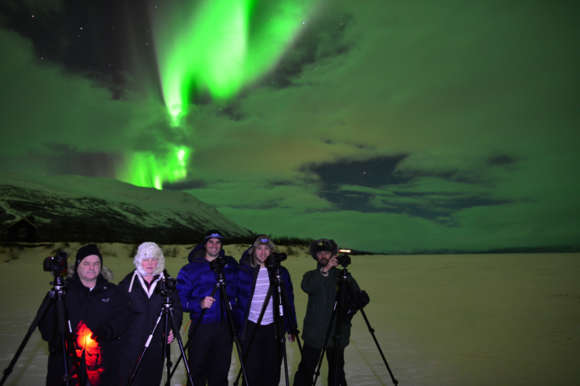
Aurora guides know the best locations, have experience with northern lights photography and can help you capture shots that might be tricky to achieve on your own. If you’re serious about getting the best aurora pictures, let the pros lead the way on a guided northern lights photography tour.
Where to photograph the aurora
The further north you go, the better your chances of seeing the northern lights. In regions close to the Arctic Circle, the northern lights appear with more frequency and intensity. Here are some of the best places to see the aurora — and capture incredible photographs of it too.
Norway
Northern Norway is a dream for aurora chasers. In destinations like Tromsø, the Lofoten archipelago, and Svalbard, you can shoot breath-taking landscapes, lit by the dancing aurora. What’s more, thanks to the warming effects of the Gulf Stream and North Atlantic Drift, fjords and coastal waters often remain free from ice. So, in the right conditions, you can capture reflections of the aurora in crystal clear waters.
Iceland
Iceland’s wild terrain — which features waterfalls, glaciers, geysers and volcanoes — makes a spectacular backdrop for the northern lights. If you’re staying in Reykjavik, you need to travel away from city lights. Some popular destinations include Hotel Ranga on the south coast and Foss Hotel in Myvatn in the north.
Sweden
Swedish Lapland is home to some of the Arctic’s most unique accommodation. Tree top rooms and the famous Ice Hotel make for an unforgettable northern lights trip. They also look incredible as part of a photographic composition. Another great place to photograph the northern lights in Sweden is the Aurora Sky Station in Sweden’s Abisko National Park. Here, you can take the chairlift up to the observation tower, then frame your shot with the park’s dramatic mountaintops in the distance.
Finland
The snowy fells of Finland are dotted with icy lakes, snow-laden forests and frozen rivers. These natural wonders make the perfect foreground for your aurora photography. You can also stay in log cabin or glass igloo accommodation, tucked away within the wild, pristine landscape. So you may even be able to snap the northern lights right outside your door.
Wondering when to travel to the Arctic? Read: When can I see the northern lights?
Aurora photography FAQs
Can you use a smartphone when photographing the aurora?
Yes — newer smartphones can capture surprisingly good shots of the northern lights, especially if they allow manual settings. However, a DSLR or mirrorless camera tends to get better results.
What camera settings should I start with?
As a starting point, set aperture to f2.8, ISO to 1600 and shutter speed to 15 seconds. Fix your focus on infinity. You can then adjust your settings depending on how active and bright the aurora happens to be.
Is a tripod essential for aurora photography?
Absolutely. Because you use a long exposure, even the slightest movement will blur your photos. A sturdy tripod — whether you’re using a camera or a smartphone — is a must.
Will the cold affect my camera?
Yes. The cold temperatures of the Arctic drain camera batteries quickly. You should bring spares and keep them warm in your pockets. Moisture can also build up when moving between hot and cold spaces, so let your camera acclimatise before use.
Can you capture the aurora if it looks faint to the eye?
Yes. Cameras can often pick up colours that are difficult for the human eye to see. Unlike a camera, our eyes aren’t very good at seeing in the dark. So even if an aurora display looks faint, it’s worth taking a few shots to see what you can capture.
Capture the northern lights with Aurora Nights
Seeing the aurora is an unforgettable experience. But taking beautiful photographs of the northern lights makes that memory last a lifetime.
On a tailor-made northern lights holiday from Aurora Nights, you can include aurora photography excursions. These tours are led by a professional photographer with knowledge of the best locations, photography tips and camera settings.
Whether you’re travelling with a DSLR, a mirrorless camera or just your smartphone, our guides will teach you how to take spectacular pictures of the northern lights. They’ll help you get the most out of your equipment — and take home photographs as magical as the lights themselves.
Ready to plan your aurora adventure? Start by browsing our northern lights tours:
